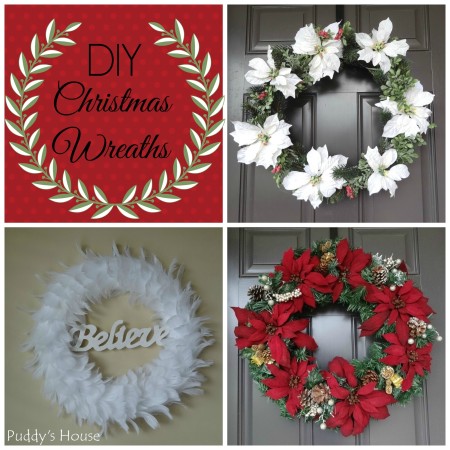
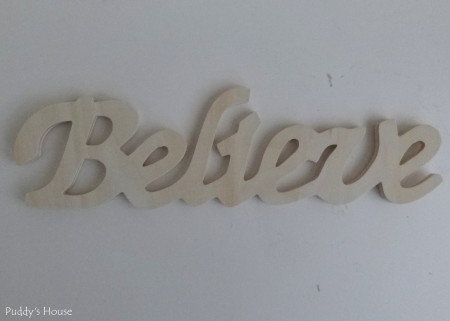
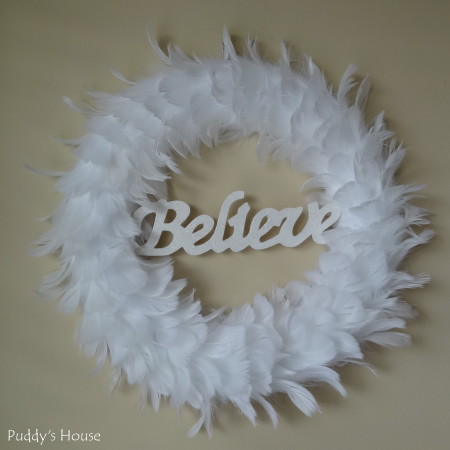
I had made the burgundy poinsettia wreath a few years ago, and this year I was inspired to make and embellish other Christmas wreaths. The feather Believe wreath was just a bit of an embellishment. I bought the white feather wreath at the after-Christmas sale at Target last year. I had intentions of using it on our front door for winter, but it looked too stark on the brown door, and Bob vetoed it (I do give him that power 😉 ) So, it sat in my stash of décor items and this year for Christmas I really wanted to use it, but thought it needed something extra. On Black Friday, I bought these wooden Believe letters at Michael’s. I don’t even remember what they cost, but it wasn’t much, and they were exactly what I had pictured in my mind.
All I did to the letters was apply a coat of Blizzard White chalk paint and allowed it to dry. Then, I wanted the letters to sparkle a bit, but didn’t want it to be too much. So, I applied a coat of sparkle Mod Podge. It worked perfectly. The letters sparkle without being overwhelming. To get the letters on the wreath, I just forced them into the form, no glue, nothing. It was so simple, and I’ll be able to remove it anytime I want. The pretty wreath is hanging in my craft room so that I get to enjoy it regularly.
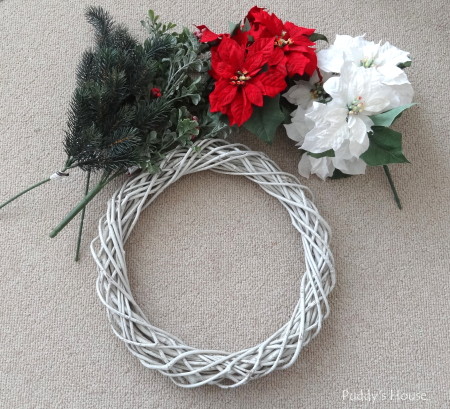
The real DIY Christmas Wreath this year was the one with the white poinsettias. I had the white grapevine wreath from one of my thrifting adventures. Then, I just bought some supplies at Michael’s while all of the Christmas flowers and picks were 50% off.
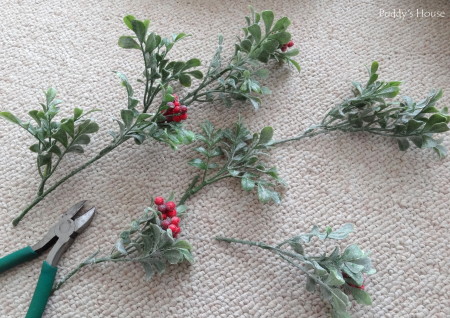
When, I started I thought I was going to use the red and white poinsettias, but I didn’t in the end. However, it is still subject to change. For now, it is just the white ones. I started with the berry greenery. I used the wire cutters to cut all the stems from the group and then each stem I cut into 3 or 4 pieces as shown below – full stem on the left with the equivalent pieces on the right.
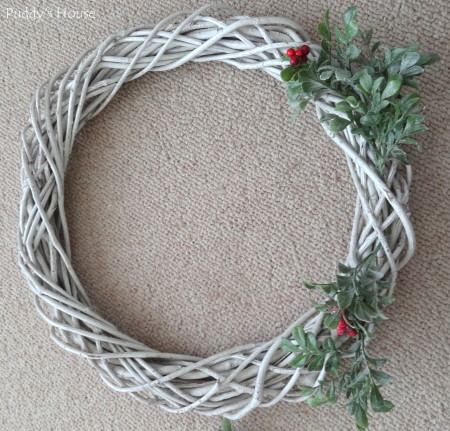
I took the stems and just started stuffing them into the grapevine wreath.
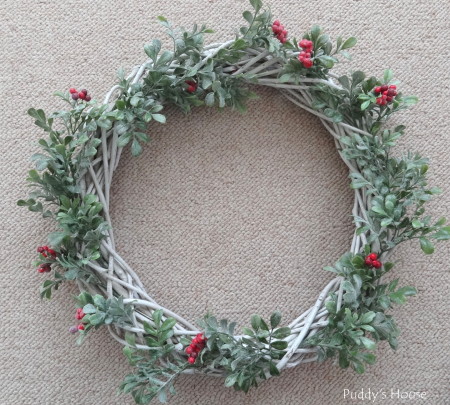
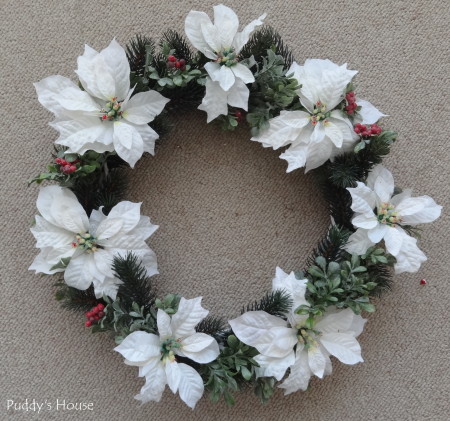
Then, I just kept adding to fill the whole way around the wreath.
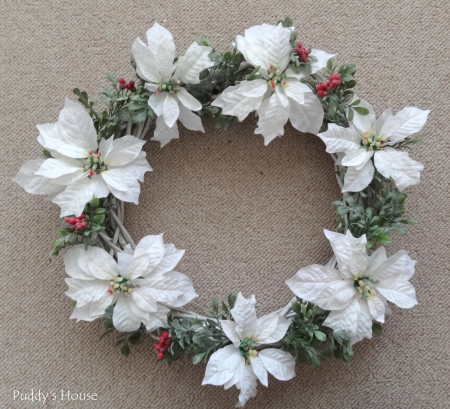
After the berry greenery branches, I added the white poinsettias.
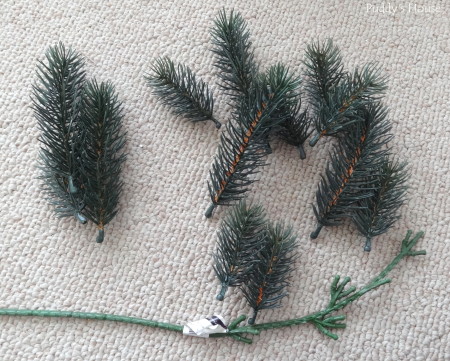
Next was the pine pieces, but first I detached them from the stem. These, I just pulled off the stem, no wire cutters needed.
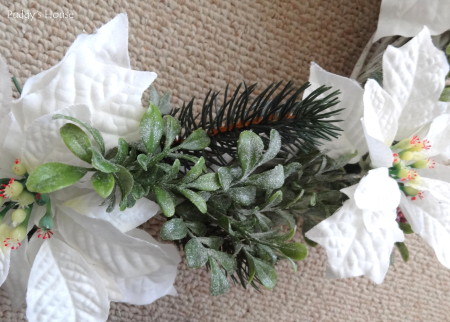
Then, I stuffed the pine pieces into the wreath.
I just tried to fill in the gaps to make it look more full.
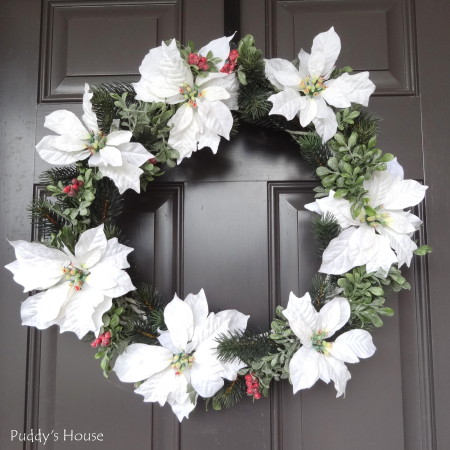
At this point, I called it done and hung it on the front door.
The nice part about the white poinsettia is that it stands out on our brown door. But, like I said, I’m still debating adding the red poinsettias in too. Stay tuned…I’ll decide by the time I share our whole house decked out for Christmas.
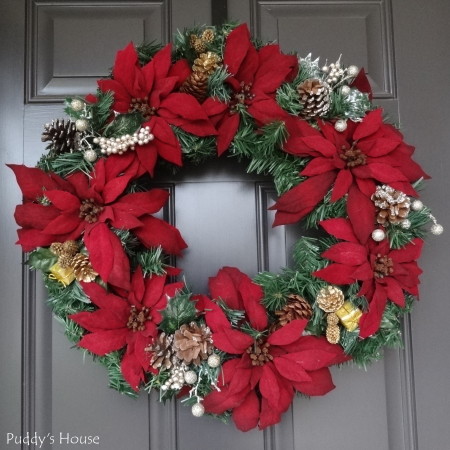
I used the same DIY concept for the burgundy wreath, but I don’t have the step-by-step pictures since I made it before I started blogging. This wreath started with a pine wreath form. Then, I added poinsettias one year and called it good for a few years. Last year, I thought it needed more, so I stuffed in some other picks to give I a bit more color and dimension. Bob still likes this wreath the best of the bunch, and I think I agree with him.
What do you think…which wreath is your favorite?
Today’s post is part of That’s What {Che} Said’s 25 Days of Christmas Series. Check out the series here – there are tons of great ideas from Cheryl and the other participating bloggers.



Leave a Reply